Configuration Guide⚓︎
PowerBI Portal relies on several Microsoft Power BI services that must be enabled before use. To help you get started quickly and securely, we recommend using the Automatic Configuration option.
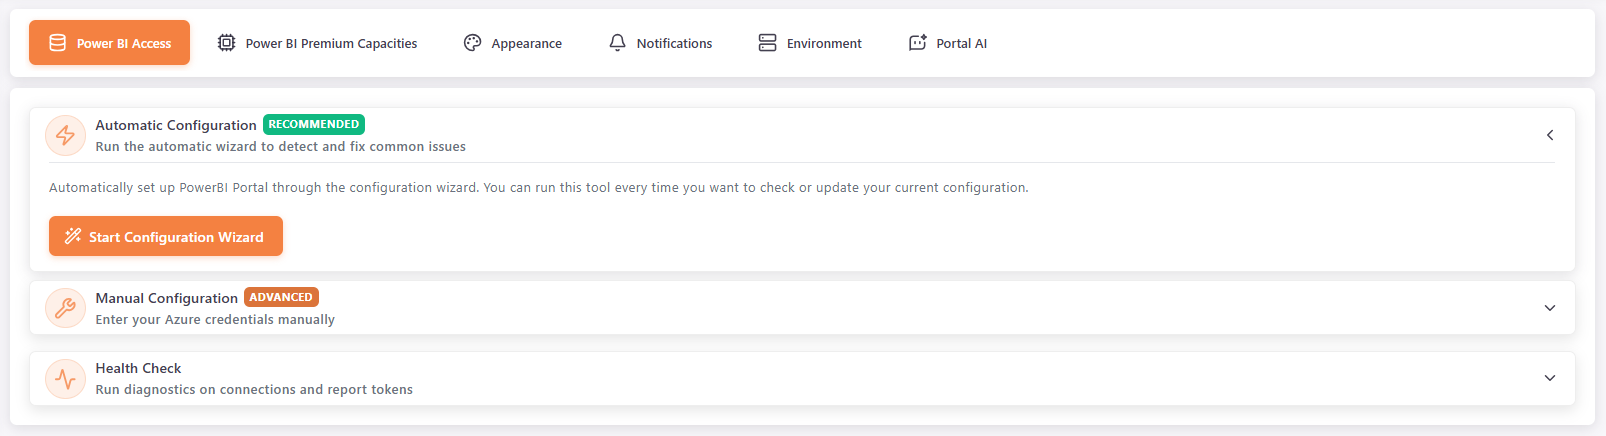
The configuration lives in Settings > Power BI Access, which is available to Master users. The page has three sections: Automatic Configuration, Manual Configuration and Health Check.
Requirements⚓︎
The user who runs the configuration needs administrator permissions in your Power BI tenant and Microsoft Azure subscription. Specifically, the account must have permission to:
- Create Microsoft Entra ID (Azure AD) app registrations
- Create Microsoft Entra ID (Azure AD) groups and add members to them
- Access the Power BI admin portal and edit the 'Tenant Settings'
- Access Power BI workspaces and add members to them
Automatic Configuration (recommended)⚓︎
The easiest and fastest way to configure PowerBI Portal is the configuration wizard. It creates and connects almost every resource you need. You can run it again whenever you want to check or update your current configuration.
- Go to Settings > Power BI Access.
- In Automatic Configuration, click Start Configuration Wizard.
- Read the introduction and click Get Started.
-
Complete the five steps of the wizard, using Next and Back to move between them:
Step What you do Create Microsoft Entra ID (Azure AD) App Click Sign in with Microsoft, enter an app registration name and create it. The wizard creates the app registration and a client secret, and shows the secret expiration date. Security Group Enter a security group name. The wizard creates the group and adds the app registration to it. Admin Portal Configuration This is a manual step. In the Power BI or Microsoft Fabric Admin Portal, enable service principal access to the APIs for the security group. See Step 3 of the manual configuration. Workspace Access Sign in with your Power BI account and select the workspaces you want to use. The wizard adds the security group to each of them with the Admin role. Capacity Configuration Sign in with Azure and Power BI, select the Provider and fill in Subscription Id, Resource Group and Resource Name. The wizard assigns the capacity to the selected workspaces and gives the app registration the capacity administrator and Contributor roles. -
Click Finish. The All Set! message confirms that PowerBI Portal is operational.
If a step is already configured, the wizard shows its current values. You can keep them and continue, or click Reset to configure that step again. Resetting a step also resets the steps after it.
Manual Configuration (advanced)⚓︎
If you prefer, you can follow the manual configuration steps and then enter the credentials yourself. This method is intended for advanced users or organizations with specific requirements.
In Manual Configuration, fill in the following fields and click Save Configuration. All fields are required.
| Field | Description |
|---|---|
| Tenant Authority | The tenant ID of your Microsoft Entra ID (Azure AD) tenant, or a domain associated with it (for example, yourtenant.onmicrosoft.com). |
| Client ID | The Application (client) ID of your Azure app registration. |
| Client Secret | The client secret of your Azure app registration. |
Health Check⚓︎
Use Health Check to verify your Power BI configuration and report connections. A summary shows the total items checked and whether there are errors, warnings, or if everything passed.
- Quick Check: validates only the Power BI credentials.
- Full Health Check: tests all reports, user overrides and group overrides. It can take several minutes, depending on the number of reports.
Info
PowerBI Portal does not access or store any of your organization's data.