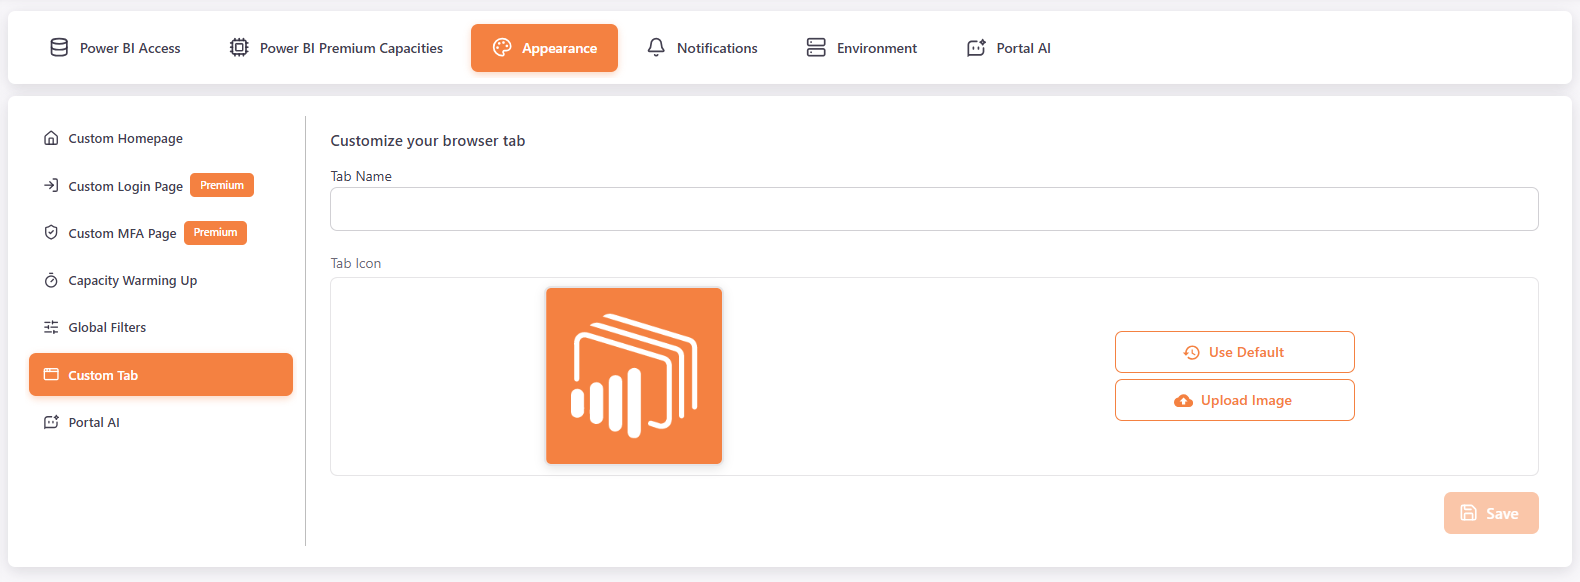
Appearance⚓︎
In Settings > Appearance, Master users customize how PowerBI Portal looks. The tab has six submenus: Custom Homepage, Custom Login Page, Custom MFA Page, Capacity Warming Up, Global Filters and Custom Tab.
Each submenu has its own Save button. Changes in one submenu are not saved when you save another.
Note
Images accept the following file types: .jpg, .jpeg, .png, .gif, .bmp, .svg and .ico. The maximum size is 1 MB. To go back to the original image, click Use Default in the image field.
Custom Homepage⚓︎
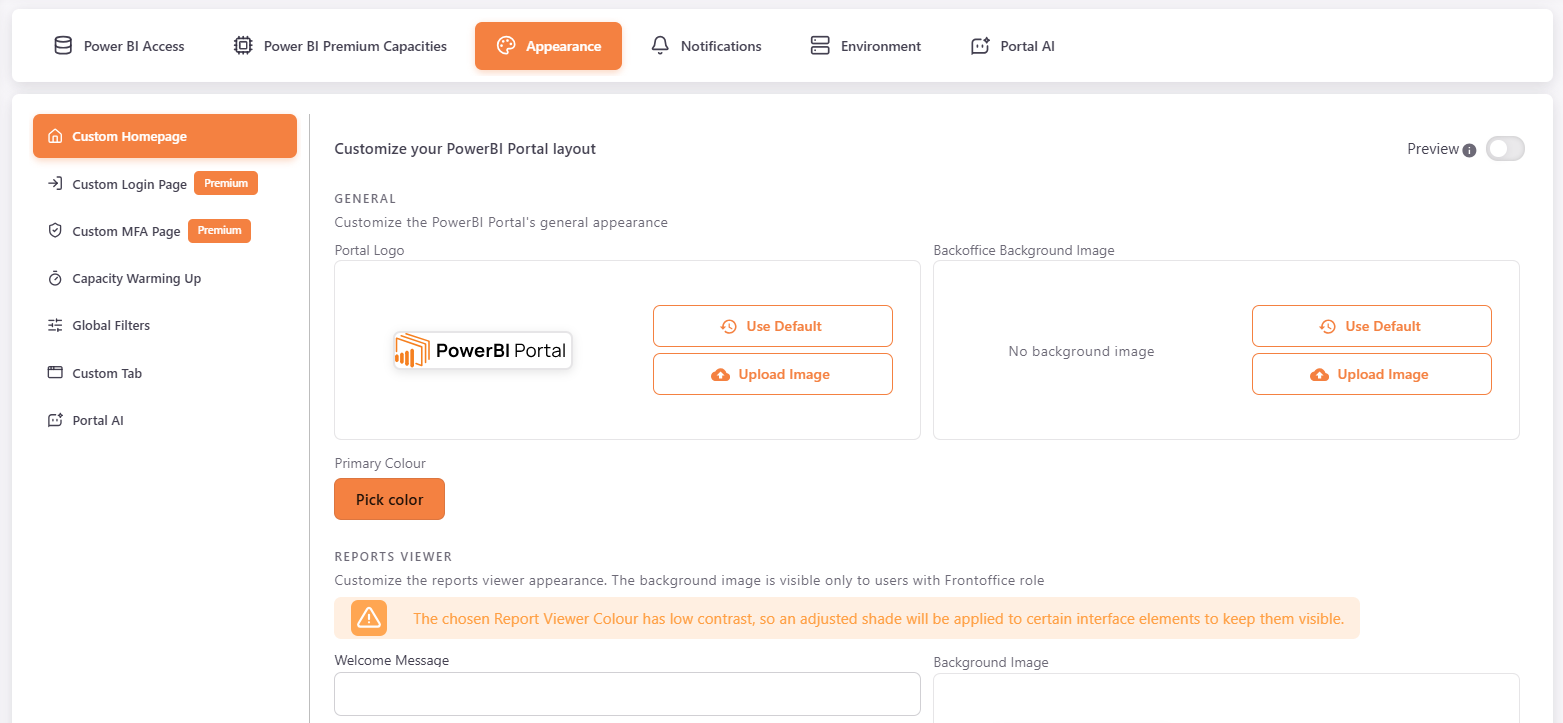
Customize the layout and colours of PowerBI Portal.
General⚓︎
- Portal Logo: the logo of PowerBI Portal.
- Backoffice Background Image: the background image shown to users with the Master, Backoffice or Area Manager role.
- Primary Colour: the Portal primary colour.
Reports Viewer⚓︎
These settings customize the reports viewer. The Background Image is visible only to users with the Frontoffice role.
- Welcome Message: the welcome message for your main page.
- Message Size: the font size of the welcome message.
- Message Color: the colour of the welcome message.
- Report Viewer Colour: the colour of the theme applied only to users with a Frontoffice role.
- Background Image: the background image of the viewer.
- Report Icon Size: use the slider to set the size of the report icons. The default size is marked on the slider.
- Area Title Colour: the colour of the area titles.
- Report Card Background: the background colour of the report cards.
- Search & Selectors Background: the background colour of the search fields and selectors.
- Search & Selectors Text Colour: the text colour of the search fields and selectors.
Click the X next to Area Title Colour, Report Card Background, Search & Selectors Background or Search & Selectors Text Colour to remove the colour.
Warning
If the Primary Colour or the Report Viewer Colour has low contrast, PowerBI Portal shows a warning and applies an adjusted shade to some interface elements to keep them visible. A warning is also shown when the Search & Selectors background and text colours make the text hard to read.
Preview⚓︎
To try different colour combinations before applying them, turn on the Preview switch at the top of the page. In preview mode, the Save button is replaced by two buttons:
- Click Preview to save the preview and open it in a new tab.
- Click Apply Preview and confirm to overwrite the current live settings with the preview.
Custom Login Page⚓︎
Customize the login page. This submenu requires:
- A Premium license.
- A custom domain configured in the Environment tab.
If a requirement is not met, a warning is shown and the fields are disabled. The submenu is not shown in environments with on-premises feature restrictions.
Colours⚓︎
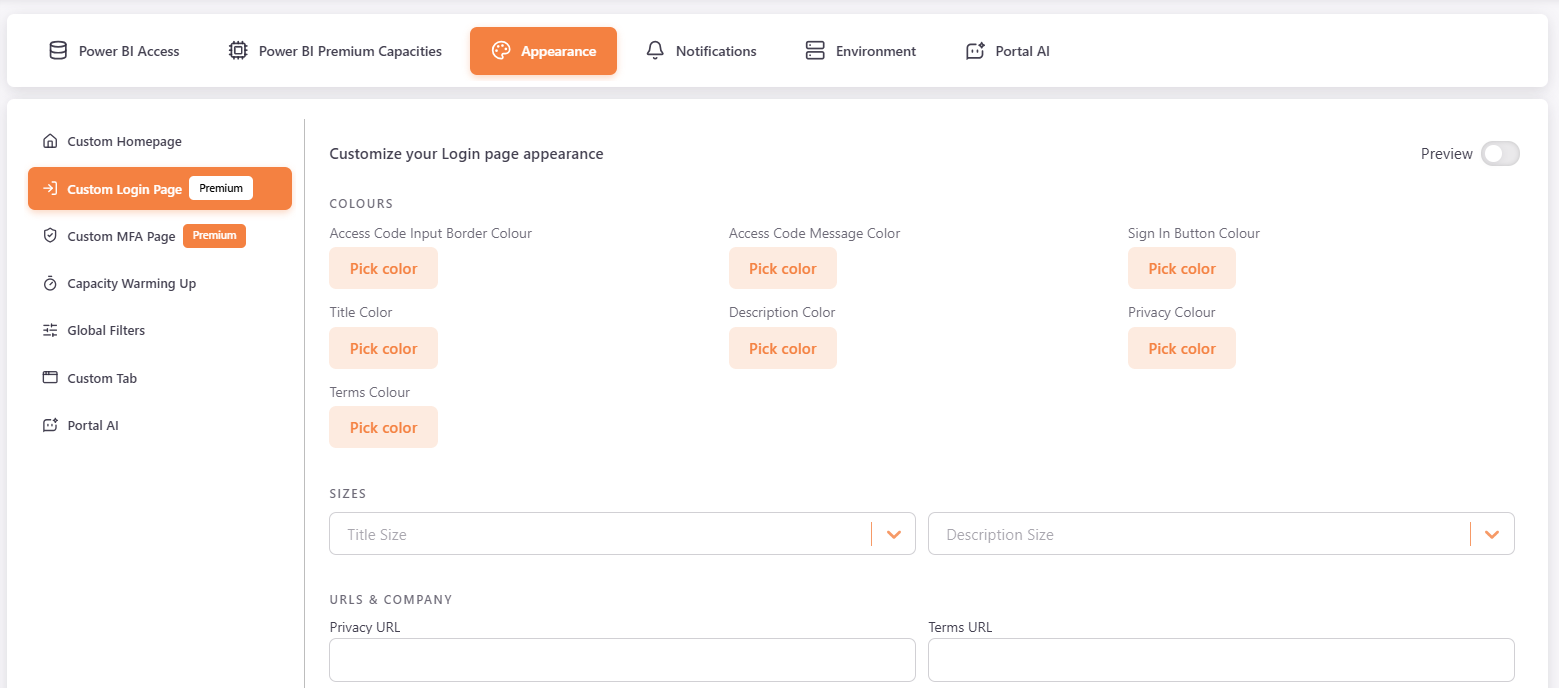
- Access Code Input Border Colour
- Access Code Message Color
- Sign In Button Colour
- Title Color
- Description Color
- Privacy Colour
- Terms Colour
Sizes⚓︎
- Title Size
- Description Size
URLs & Company⚓︎
- Privacy URL: the link of the Privacy Policy in the login page message.
- Terms URL: the link of the Terms of Service in the login page message.
- Company Name: the company name shown in the login page message By clicking "Sign in", you have read and agreed to [Company Name]'s Terms of Service and Privacy Policy.
Images⚓︎
- Login Logo: the logo shown in the login page.
- Login Background Image: the background image of the login page.
Language-Specific Content⚓︎
Select a language tab (EN, PT, ES, FR, DE or CN) and fill in the texts for that language:
- Title: the title of the login page.
- Description: the description of the login page.
- Sign In Button Text: the title of the sign in button.
- Access Code Message: the message that tells the user to enter their access code.
- Access Code Input Message: the placeholder of the access code input box.
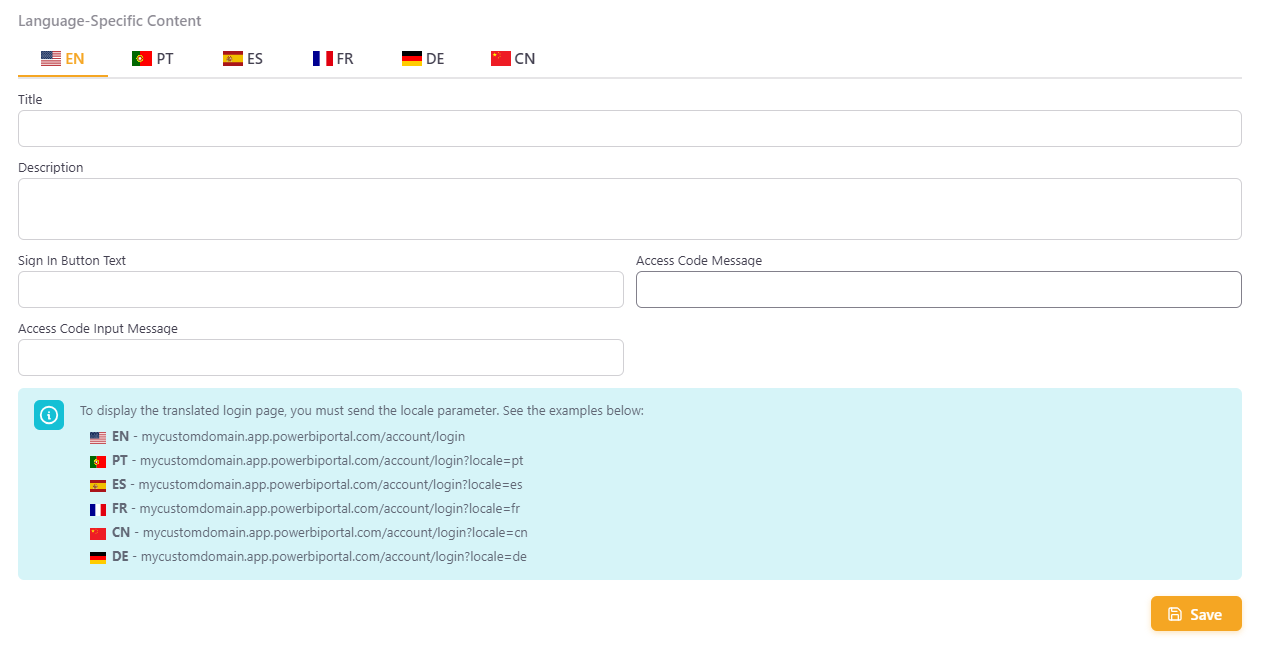
To show the translated login page, you must send the locale parameter. Examples:
- EN -
mycustomdomain.app.powerbiportal.com/login - PT -
mycustomdomain.app.powerbiportal.com/login?locale=pt - ES -
mycustomdomain.app.powerbiportal.com/login?locale=es - FR -
mycustomdomain.app.powerbiportal.com/login?locale=fr - DE -
mycustomdomain.app.powerbiportal.com/login?locale=de - CN -
mycustomdomain.app.powerbiportal.com/login?locale=cn
Example: https://devscope.app.powerbiportal.com/login
Preview⚓︎
Use the Preview switch, then Preview and Apply Preview, as described in Custom Homepage. The preview opens the login page in a new tab.
Custom MFA Page⚓︎
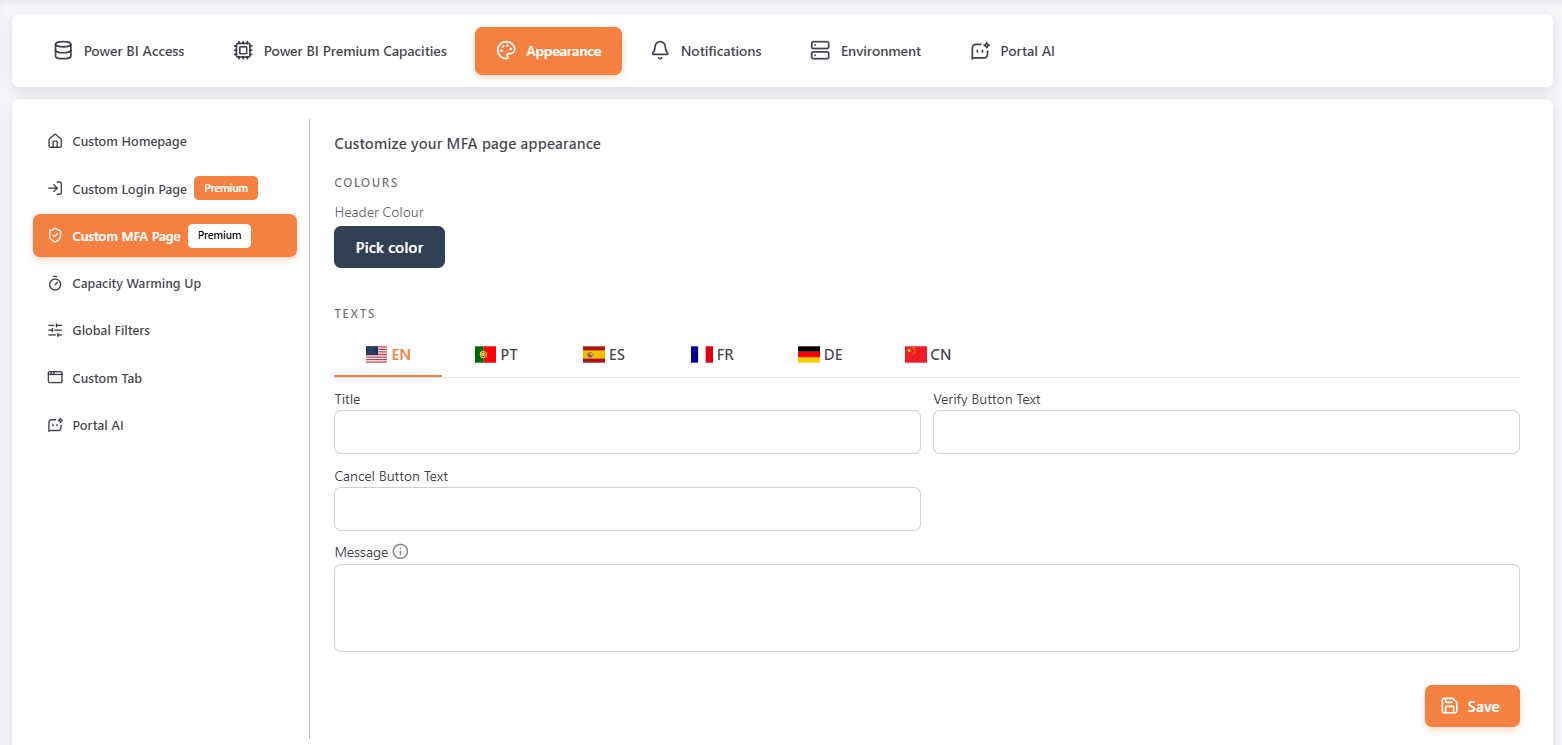
Customize the page where users enter their MFA validation code. This submenu requires a Premium license. Without it, a warning is shown and the fields are disabled.
- Header Colour: the colour of the page header.
Select a language tab (EN, PT, ES, FR, DE or CN) and fill in the texts for that language:
- Title
- Verify Button Text
- Cancel Button Text
- Message: this message is only shown after the first code has been sent. Before that, the default message is displayed.
Capacity Warming Up⚓︎
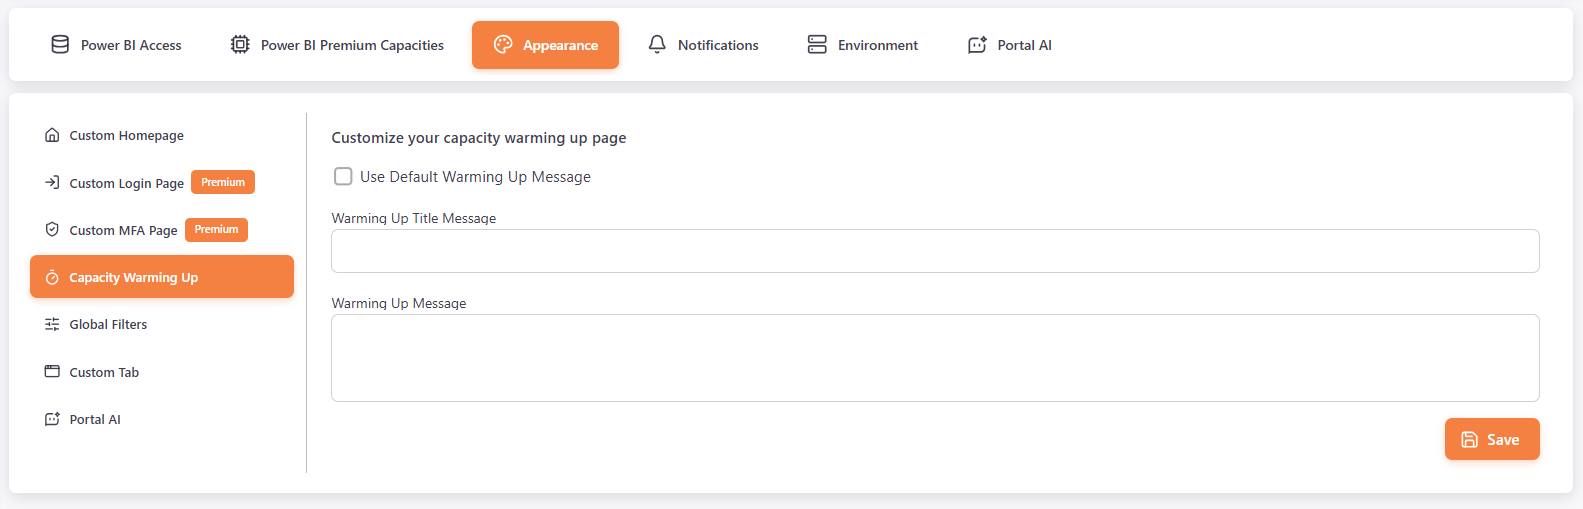
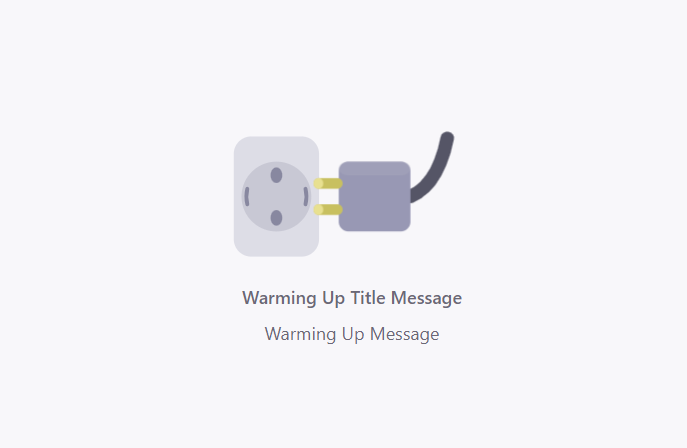
Customize the page that users see while the capacity is warming up.
- Select Use Default Warming Up Message to use the default PowerBI Portal message. Clear it to write your own.
- In Warming Up Title Message, define the title.
- In Warming Up Message, define the message.
- Click Save.
The title and message fields are disabled while Use Default Warming Up Message is selected.
Global Filters⚓︎
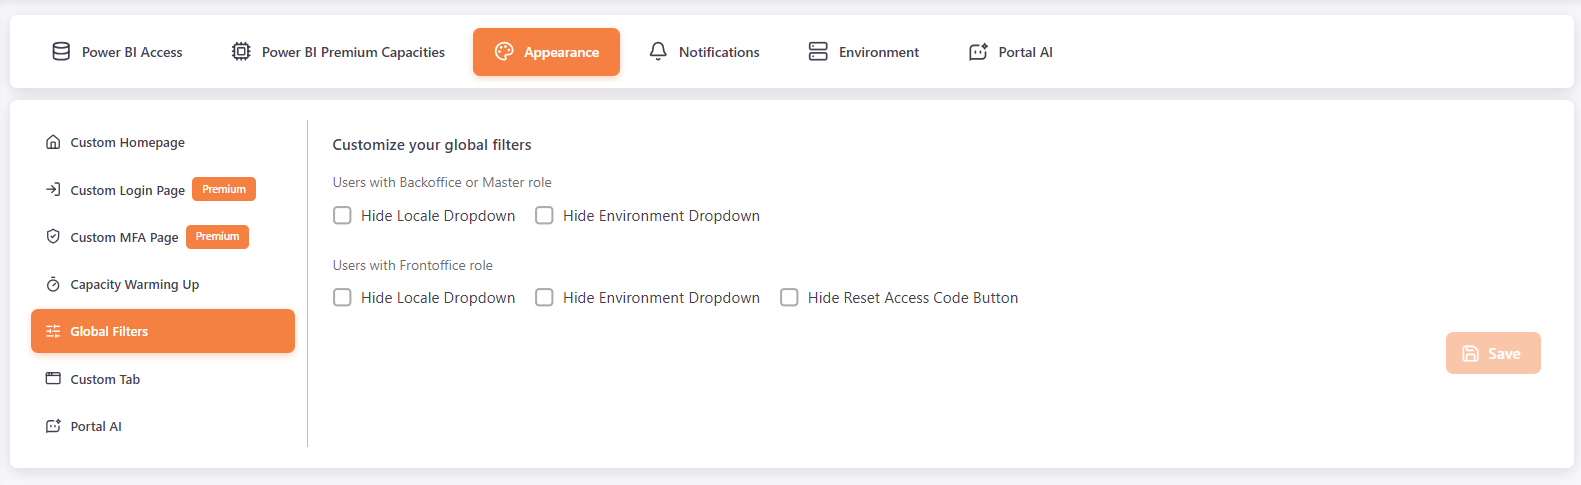
Hide the global filters and buttons that you don't want your users to see. Select an option to hide it, and click Save.
Users with Backoffice, Master or Area Manager role
- Hide Locale Dropdown
- Hide Environment Dropdown
Users with Frontoffice role
- Hide Locale Dropdown
- Hide Environment Dropdown
- Hide Reset Access Code Button
Custom Tab⚓︎
Customize how PowerBI Portal appears in the browser tab.
- Tab Name: the name shown in the browser tab.
- Tab Icon: the icon shown in the browser tab.