On-Prem Installation⚓︎
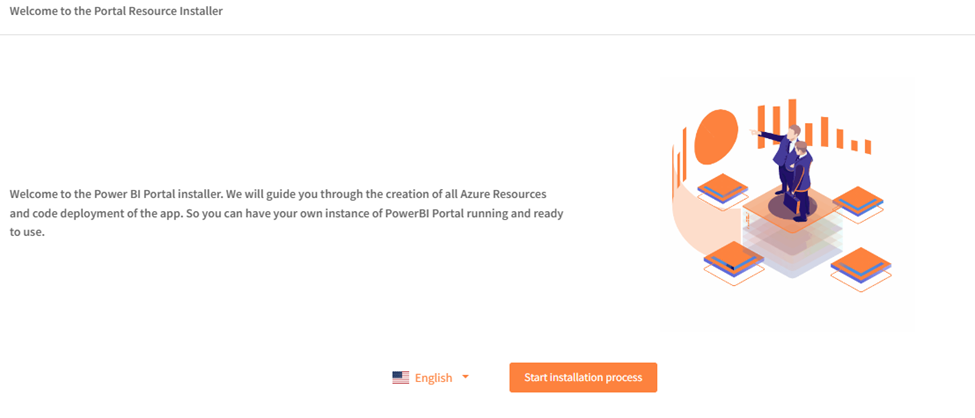
The PowerBI Portal installer will guide you through the creation of all required Azure resources and the deployment of the application code. By the end of this guide, you'll have your own fully functional instance of PowerBI Portal — ready to use and deployed within your Azure subscription.
You can start by accessing this link: https://admin.powerbiportal.com/GuidedInstaller
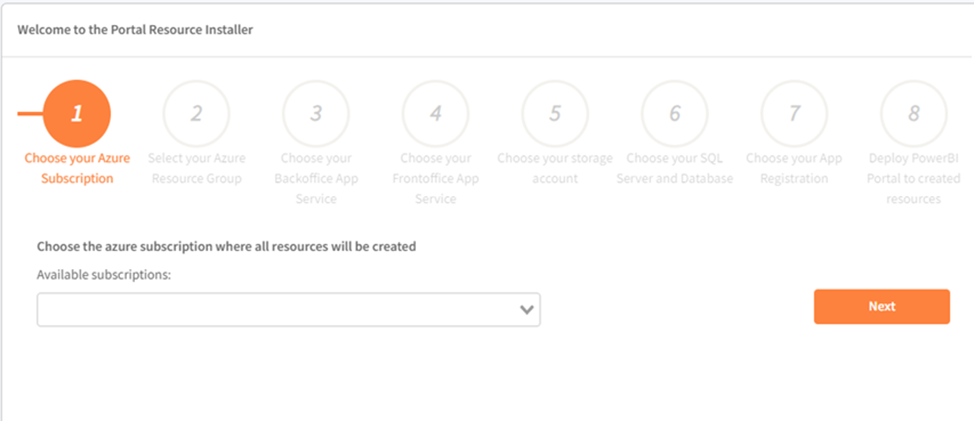
Step 1 – Select Your Azure Subscription
Choose the Azure subscription where all resources will be provisioned.
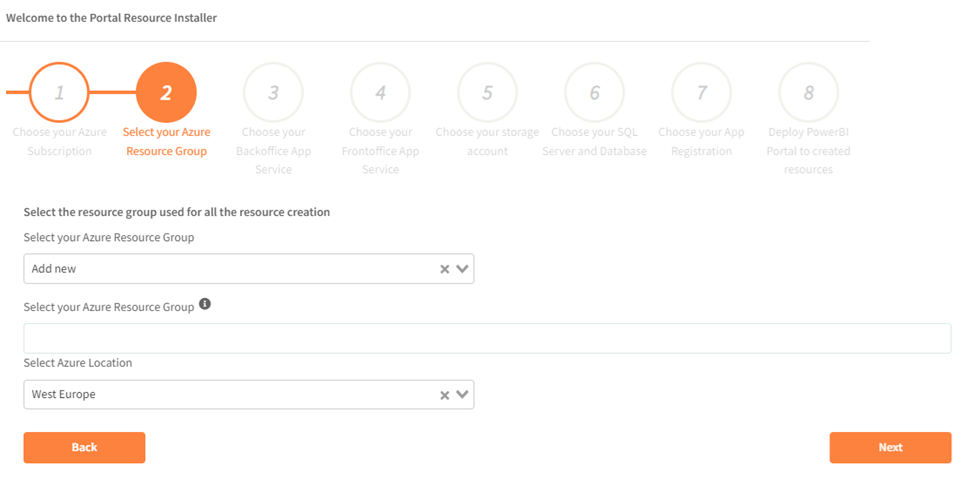
Step 2 – Select Your Azure Resource Group
Select an existing resource group to host all resources.
If you don't have it you can create one here.
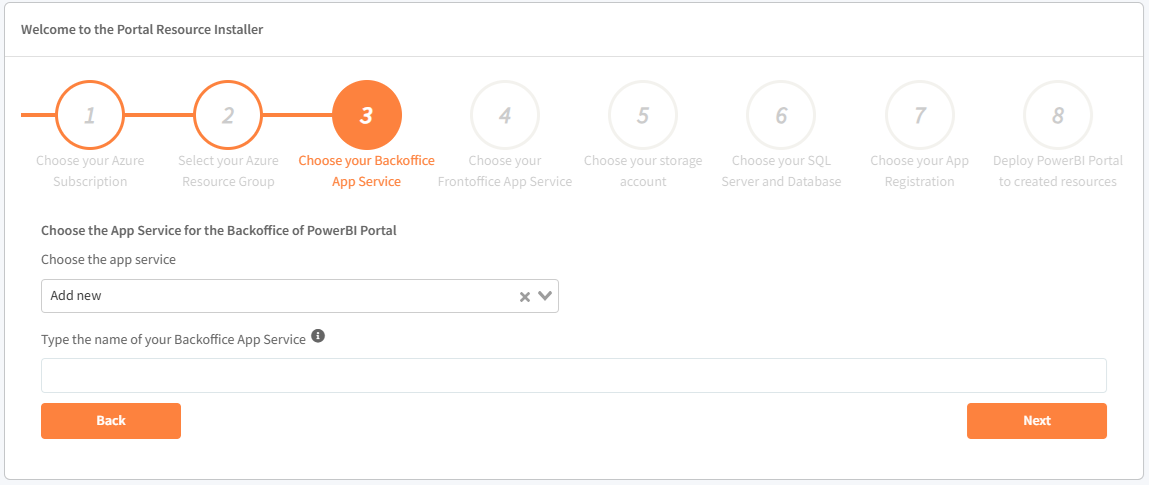
Step 3 – Select or Create the Backoffice App Service
Choose the App Service that will host the backoffice application.
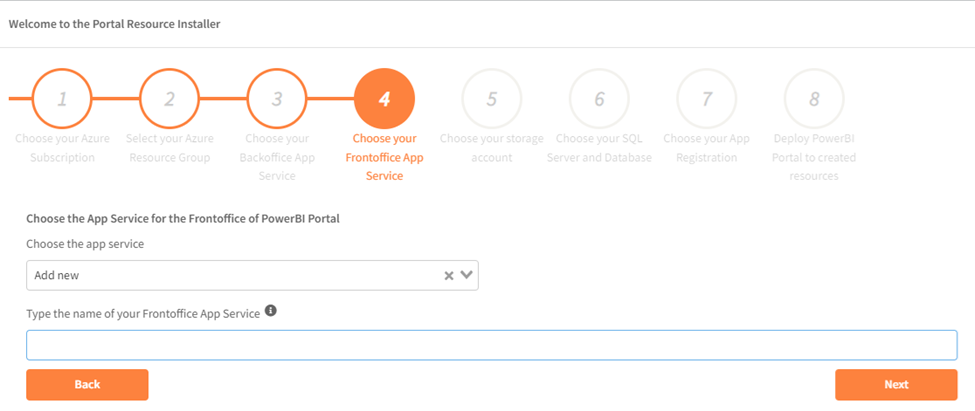
Step 4 – Select or Create the Frontoffice App Service
Choose the App Service that will host the frontoffice application.
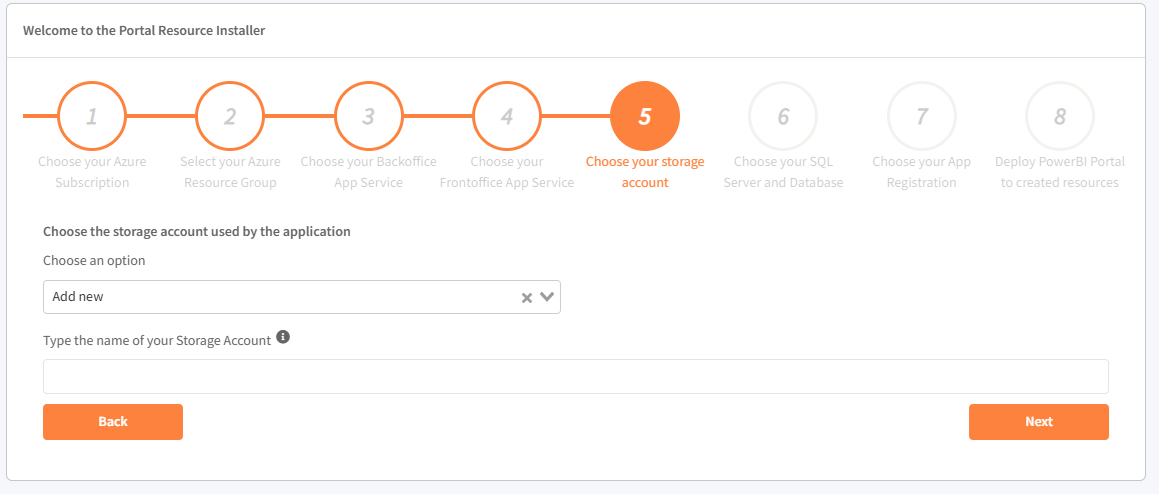
Step 5 – Select or Create a Storage Account
Select the Azure Storage account that the application will use.
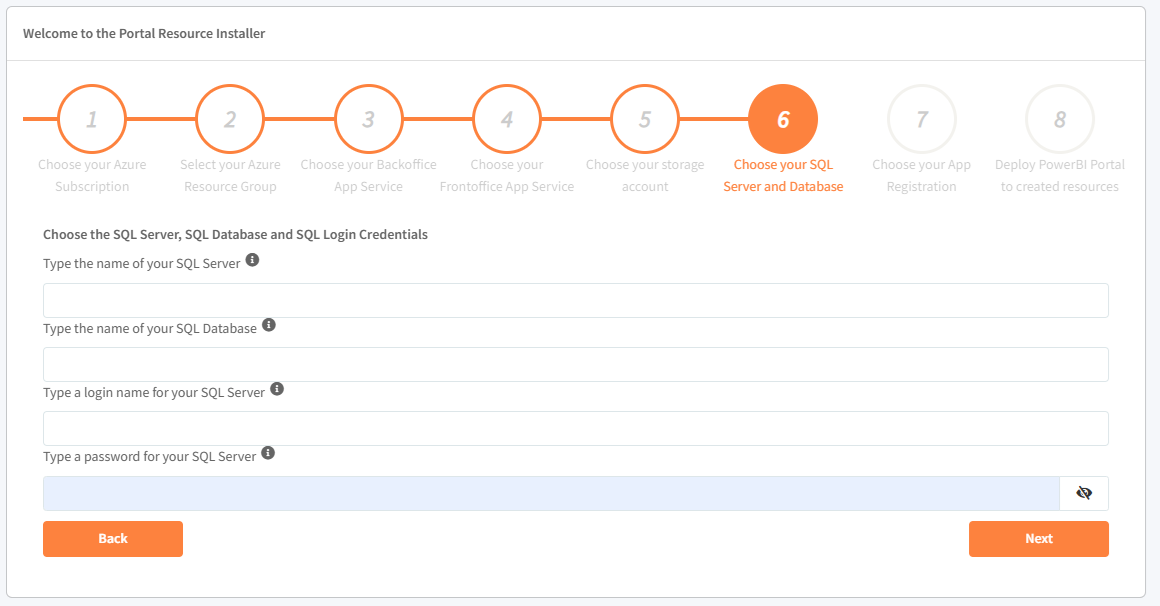
Step 6 – Select Your SQL Server and Database
Choose the SQL Server and corresponding database to store your application's data.
If you don't have it you can create one here.
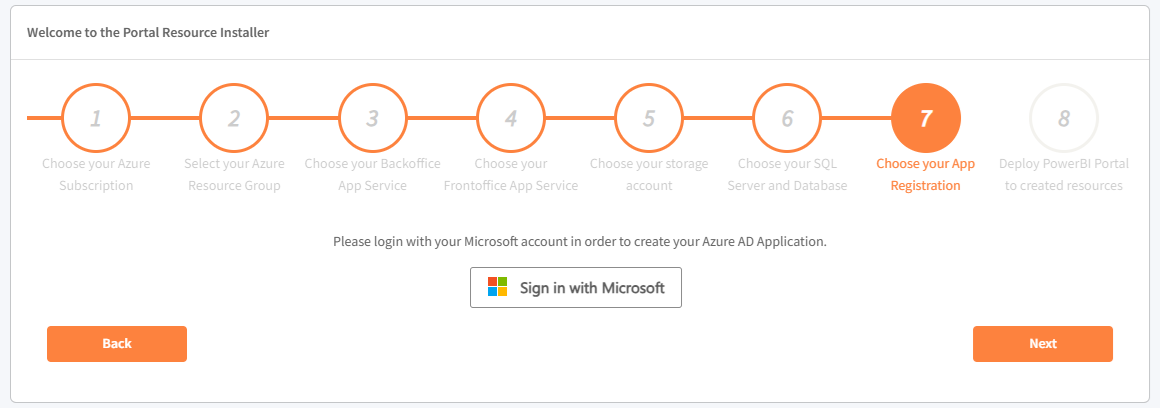
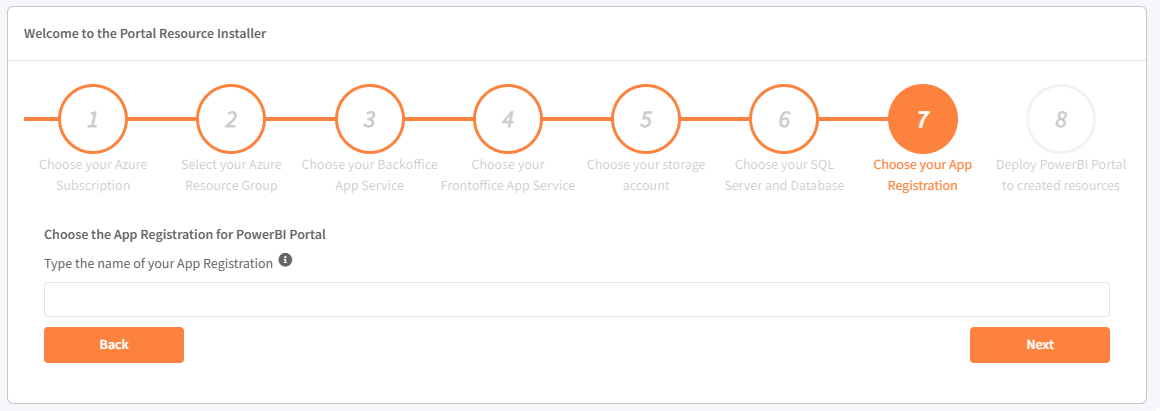
Step 7 – Configure App Registration
You will be prompted to sign in with your Microsoft account. After authentication, provide the name for your PowerBI Portal App Registration. This registration enables secure access between the portal and your Power BI environment.
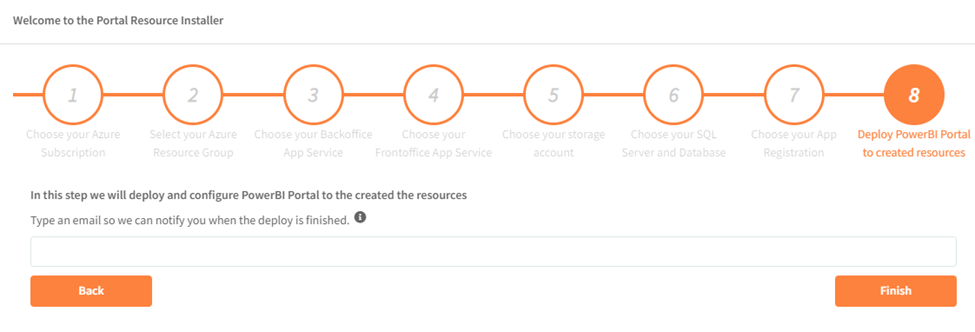
Step 8 – Deploy the PowerBI Portal
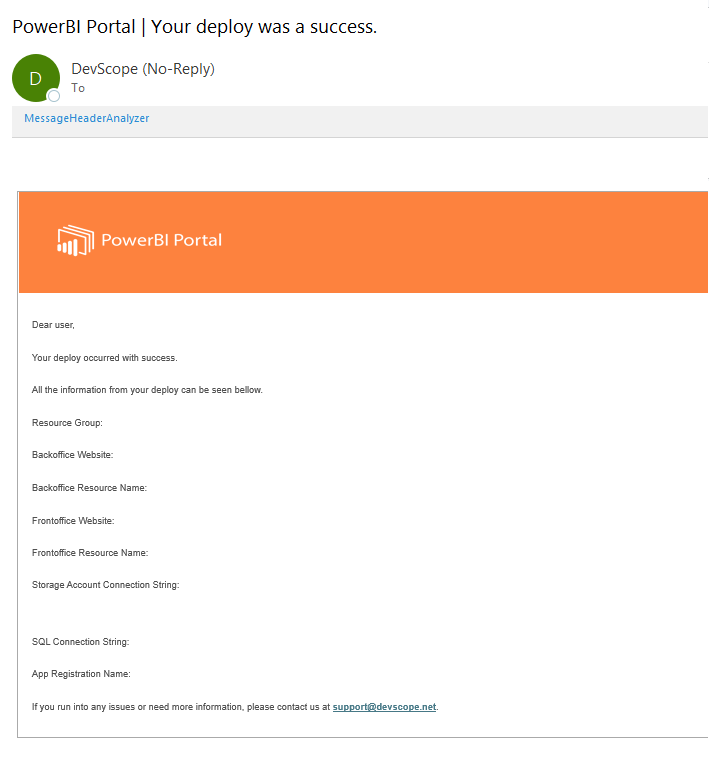
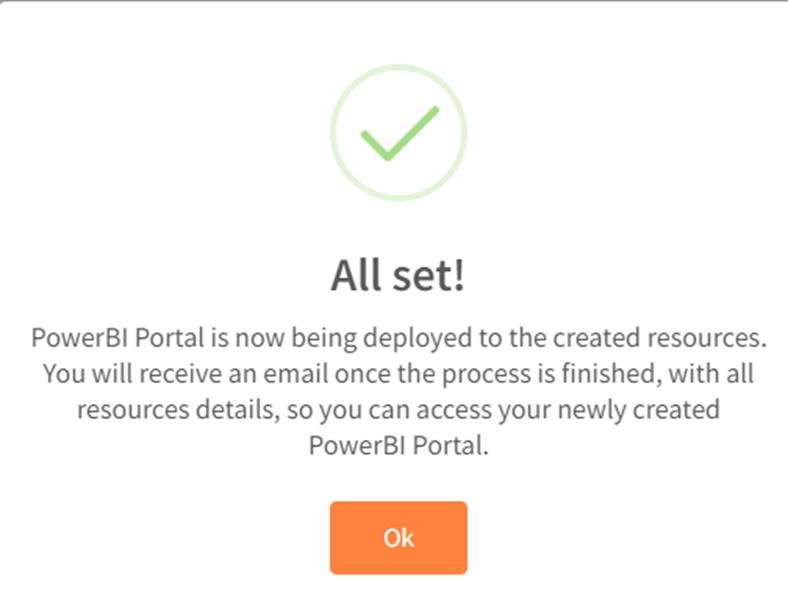
The installer will now deploy and configure the PowerBI Portal using the resources you've selected. Please provide your email address so we can notify you once the deployment is complete. You will receive a summary email with all relevant configuration details.

Example of final email: