Managing Playlists⚓︎
Playlists let you group multiple reports into an automated sequence that cycles through each report at a defined interval. You can then share playlists with Front Office users for dashboard-style viewing.
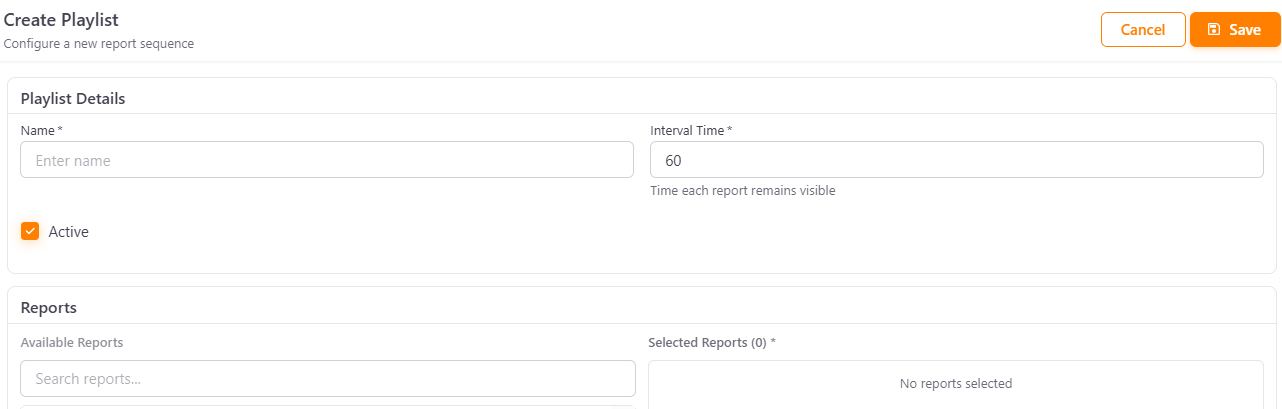
Creating a playlist⚓︎
- Navigate to Playlists > List and click Add Playlist.
- Under Playlist Details, fill in the following fields:
- Name — a display name for the playlist.
- Interval Time — the number of seconds each report remains visible before advancing to the next (default is
60). - Active — toggle the checkbox to enable or disable the playlist.
- Under Reports, search for and select the reports you want to include. Available reports are listed on the left; selected reports appear on the right.
- Click Save.
Note
Only reports that have already been added to the Back Office are available for selection.
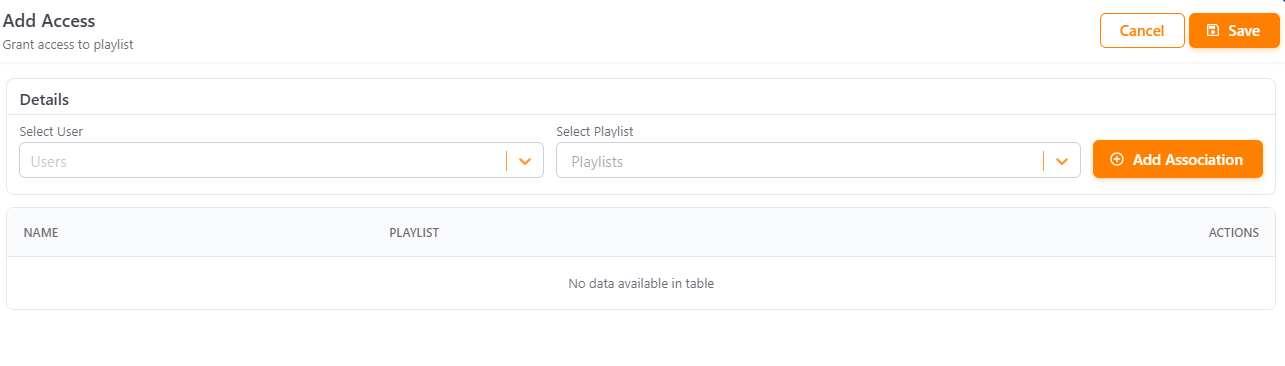
Configuring playlist access⚓︎
To control which users can view a playlist:
- Go to Playlists > Access and click Add Access.
- Select a User from the dropdown.
- Select the Playlist to associate.
- Click Add Association to grant access, then click Save.
All configured associations are listed in the table below, where you can review or remove them.