Managing Files⚓︎
PowerBI Portal allows you to upload files to Azure Blob Storage and share them with Front Office users. Follow the steps below to configure storage, add files, and manage access.
Setting up Azure Blob Storage⚓︎
Before adding files, you must connect PowerBI Portal to your Azure Blob Storage account.
- Go to Settings and select the Environment tab.
- In the left sidebar, click Azure Blob Storage.
- Enter your Connection String and Container Name.
- Click Test Connection to verify the configuration, then click Save.

Make sure the files you want to share are uploaded to the configured blob container.
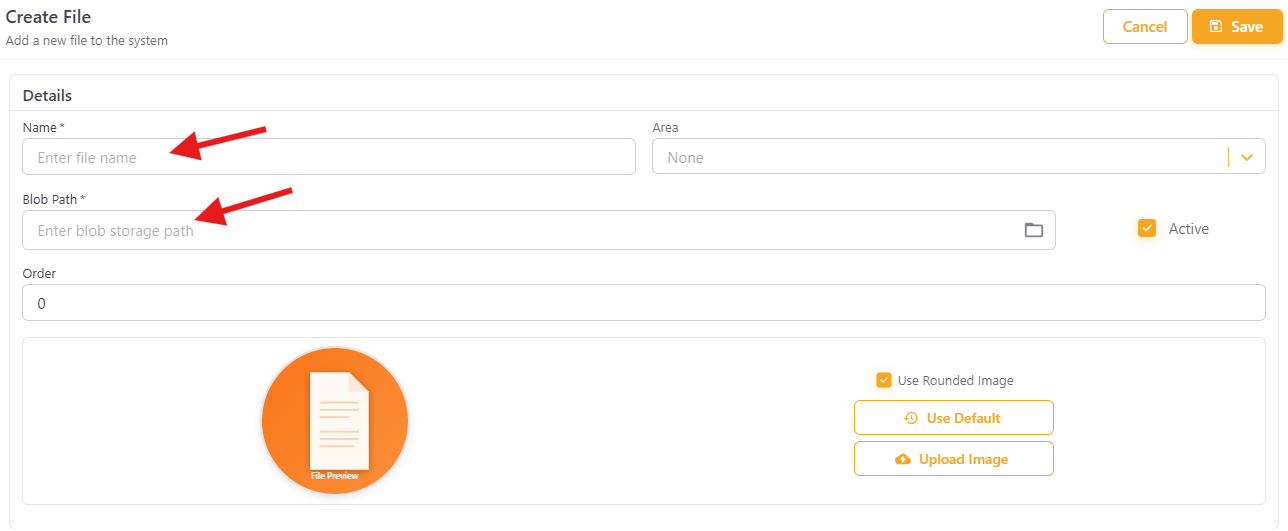
Adding a file⚓︎
- Navigate to Files > List and click the Add File button.
- Fill in the required fields:
- Name — a display name for the file.
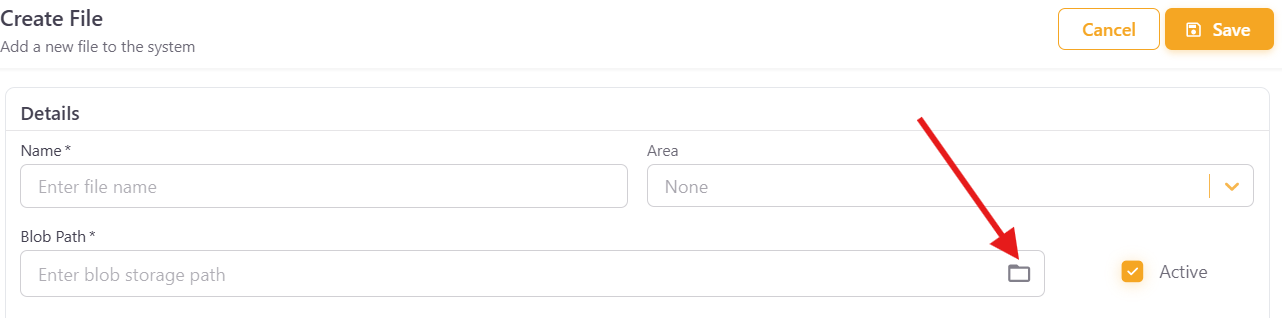
- Blob Path — the path to the file in your Azure Blob Storage container. Use the browse button to select it.
- Optionally, select an Area, set the display Order, and toggle the Active checkbox to control visibility.
- You can also upload a custom thumbnail image or use the default file preview icon.
- Click Save.
Once saved, you can verify the file details, including its active status and blob path:
Configuring file access⚓︎
To control which users or groups can access a file:
- Open the Access tab of the file you created.
- Select a User/Group from the dropdown.
- Select the File to associate.
- Click Add Association to grant access.
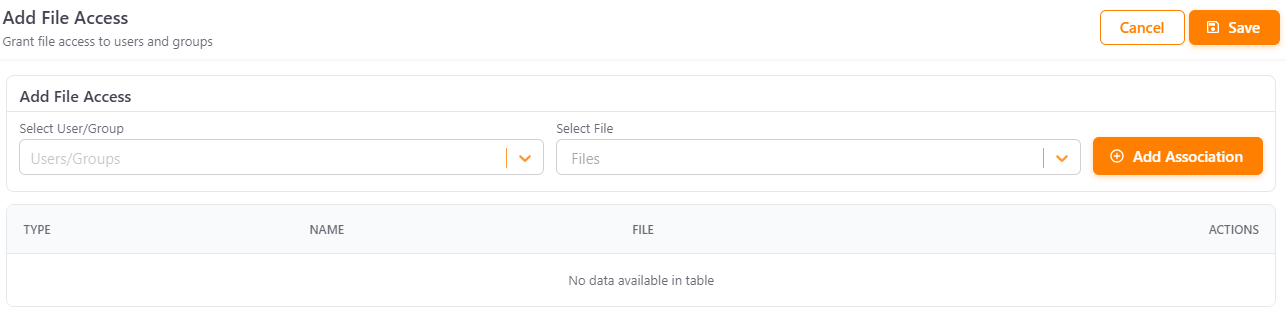
All configured associations are listed in the table below, where you can review or remove them.