Bookmarks⚓︎
The Bookmarking feature allows Front Office Users to save and manage personalized filter settings (bookmarks) within the application. This enhances user efficiency by enabling quick access to frequently used views or filters, reducing repetitive configuration steps.
Key Features⚓︎
- Save Filters as Bookmarks Users can create bookmarks based on current filter selections (e.g., date ranges, categories, statuses, etc.).
- Quick Access to Bookmarks Bookmarks are displayed in an accessible panel/dropdown, allowing users to apply saved filters with one click.
Info
The bookmarks saved are user specific.
Requirements:⚓︎
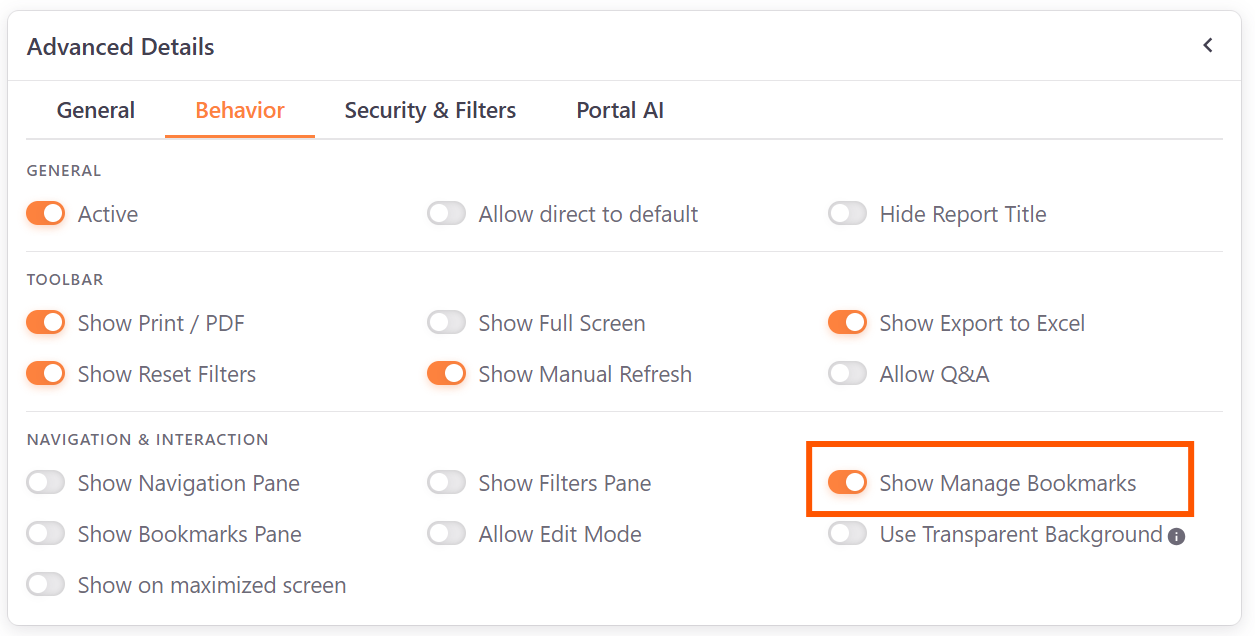
- The option to 'Allow Bookmarks' needs to be enabled on the back office:
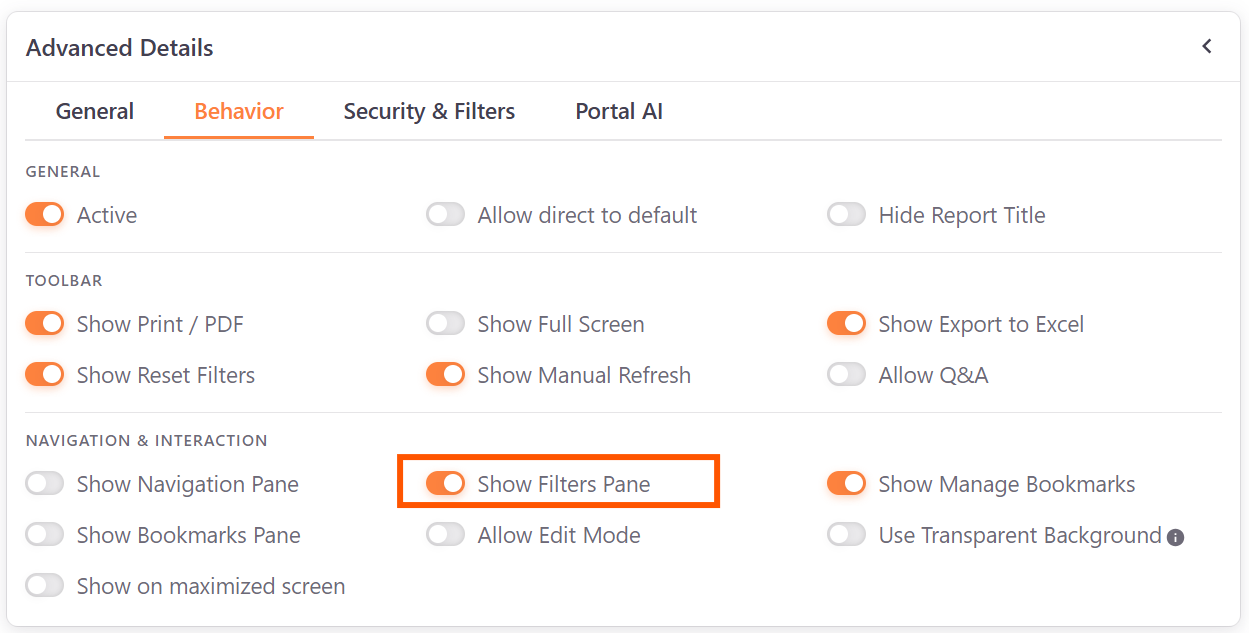
- If the front office users will use the Filter panel to apply the filters, the option to 'Show Filters Pane' also needs to be enabled:
How to Use:⚓︎
Creating a Bookmark
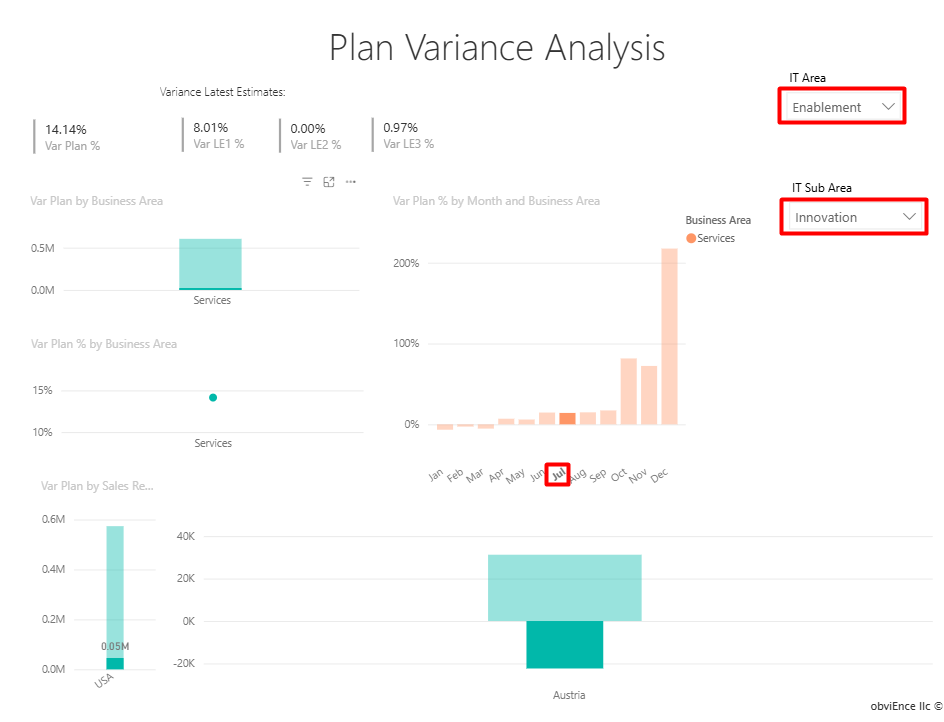
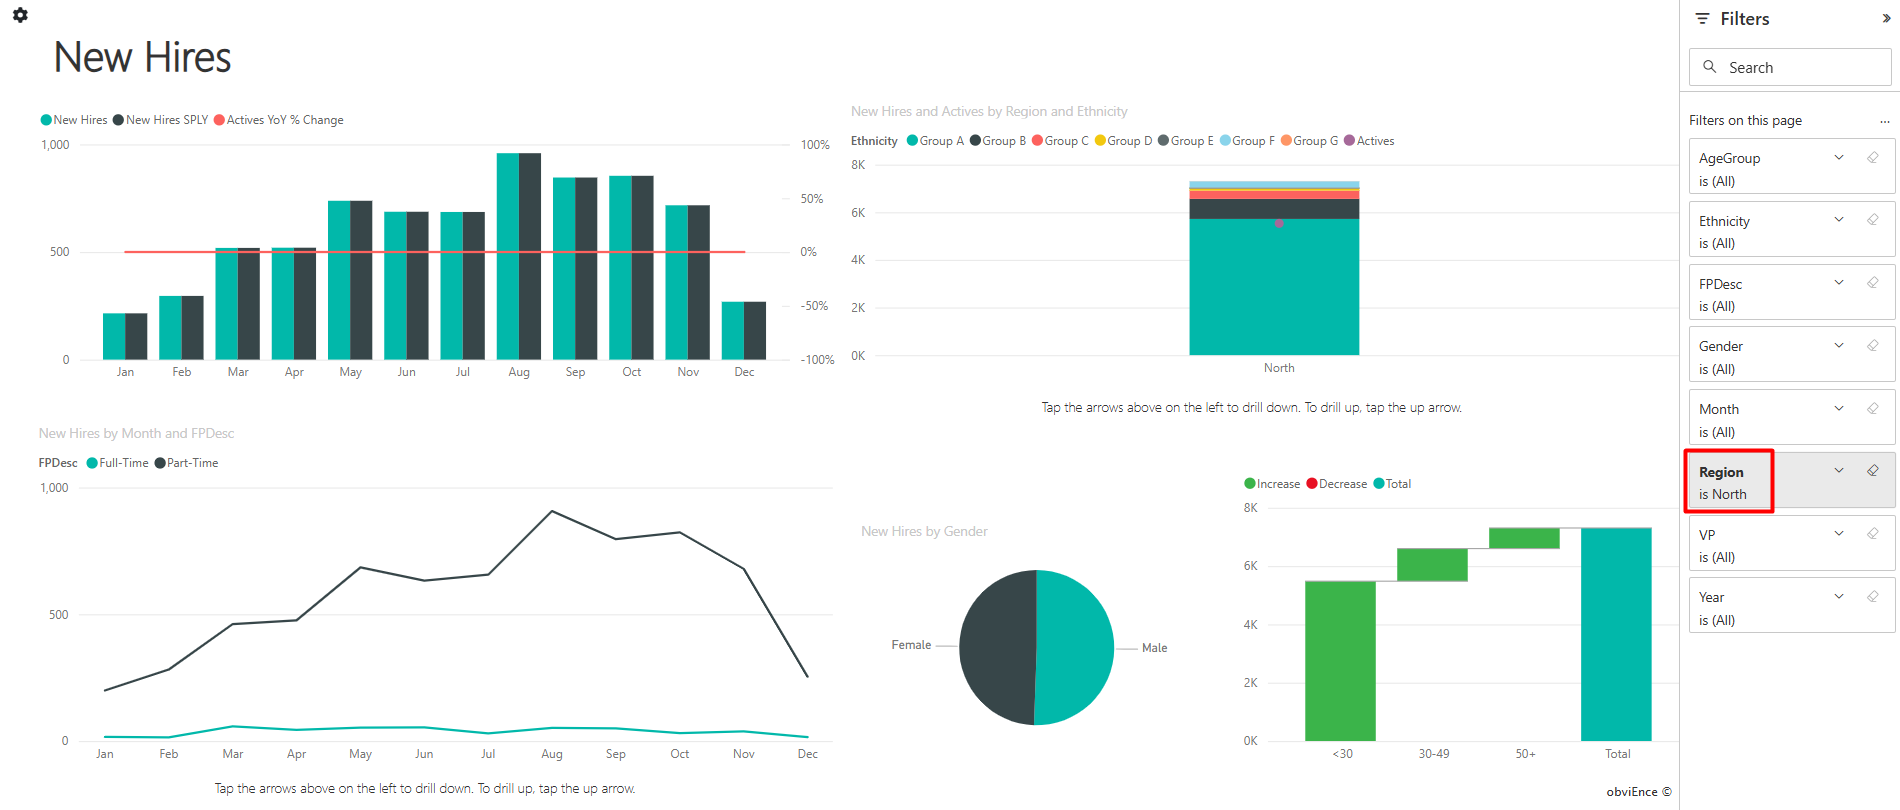
- Apply desired filters in the filter panel or report page.
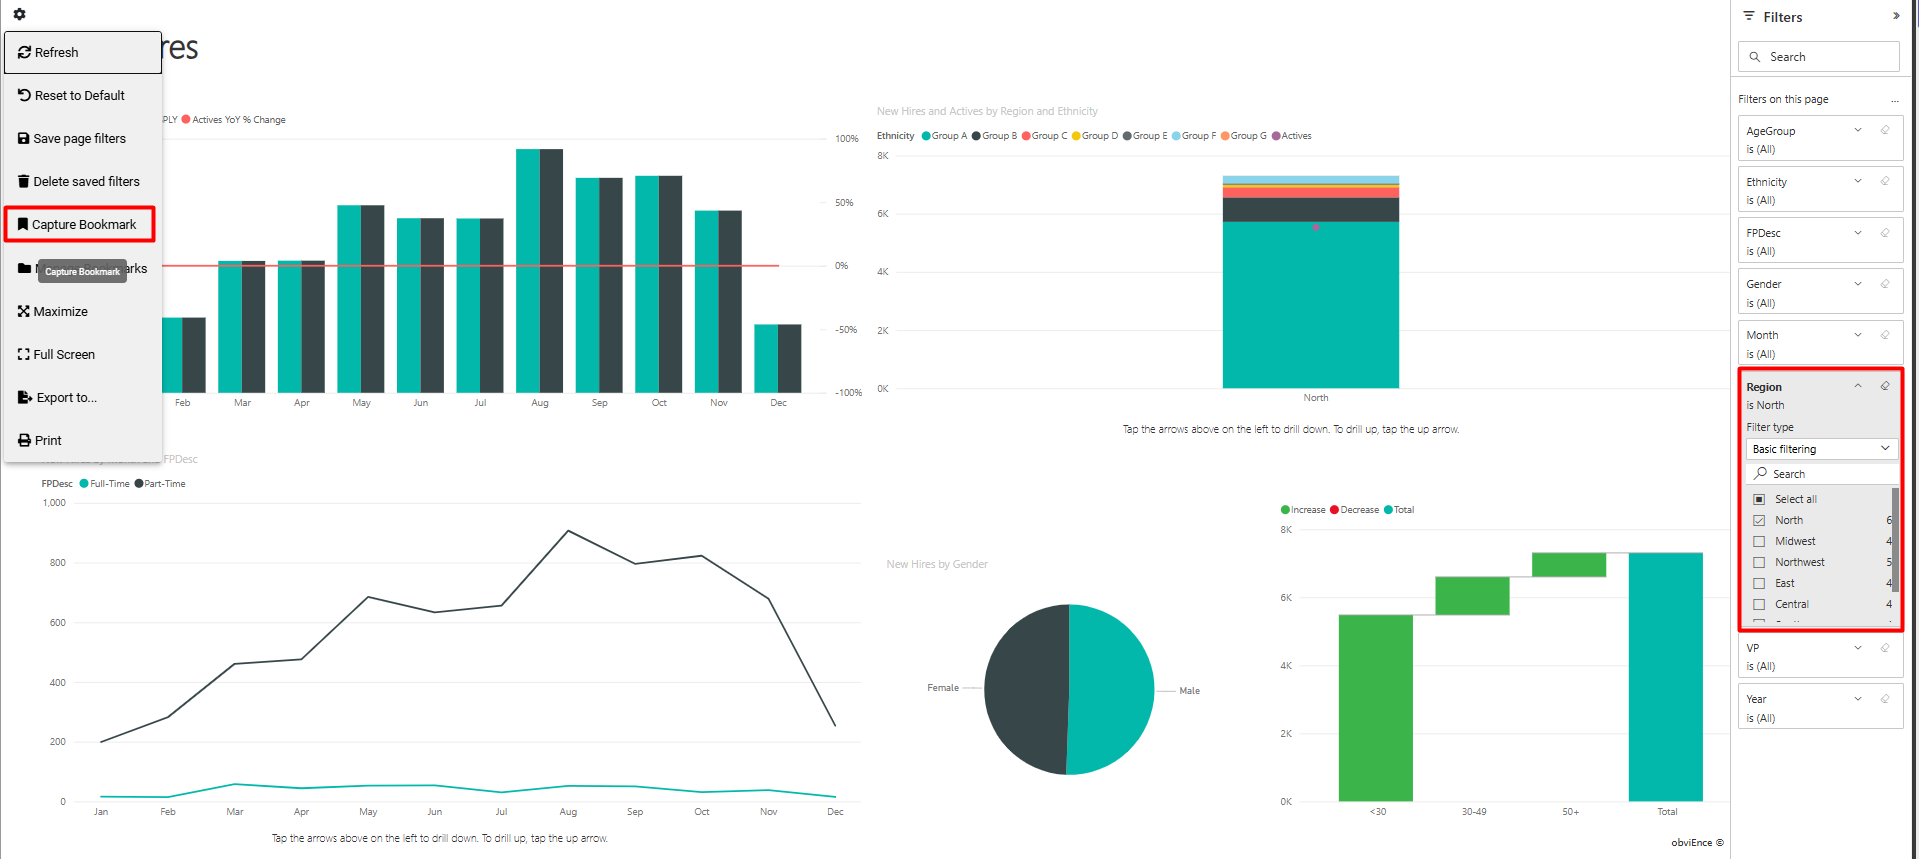
- You can also save filter contexts by applying a slicer value and/or selecting a filtering value on a visual:
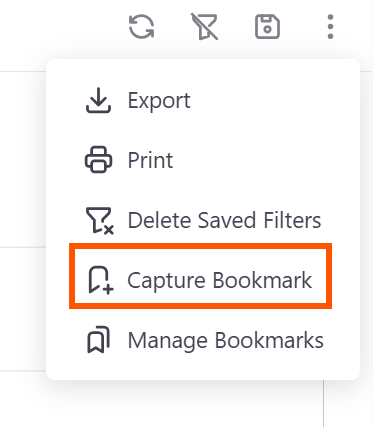
- Click the Actions button and press Capture Bookmark”.
- Enter a Bookmark Name.
- Click Save.
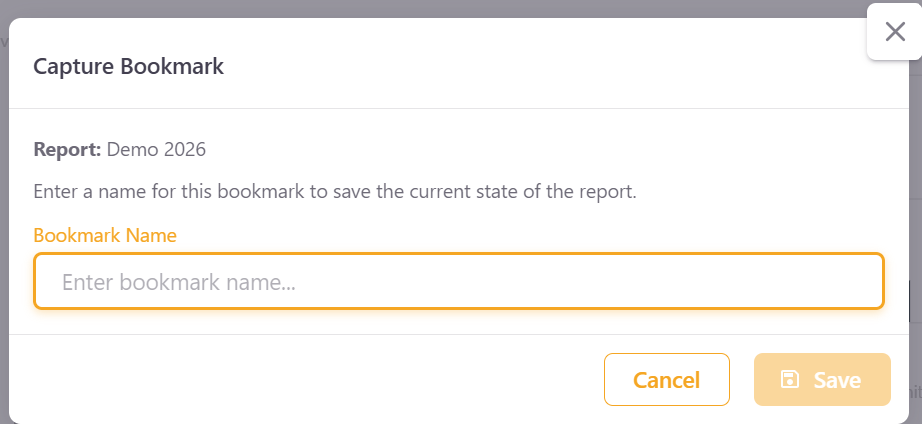
📌 The bookmark will now appear in your bookmarks list.
Applying a Bookmark
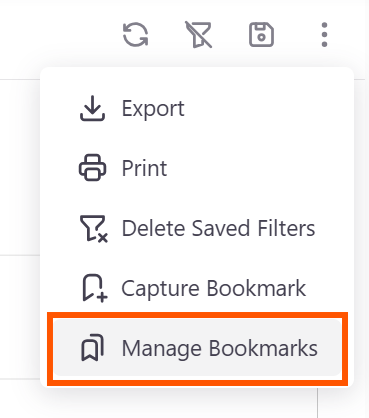
- Open the Manage Bookmarks Feature.
- Select a bookmark from the list by clicking on 'Apply Bookmark'.
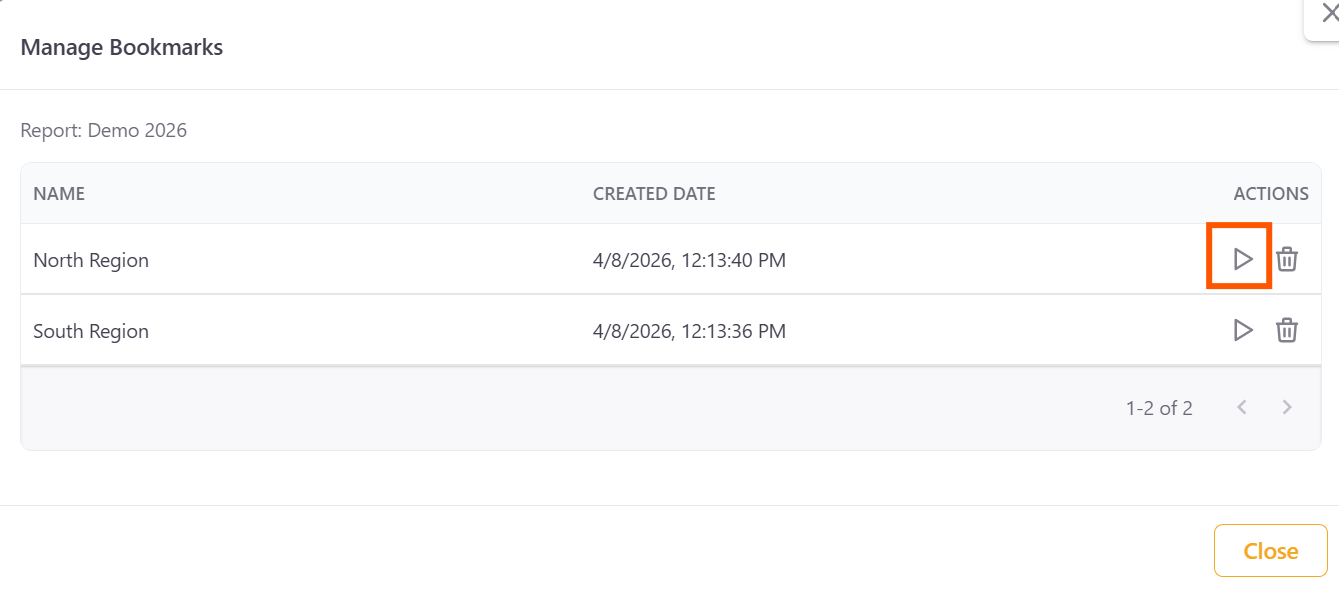
- The associated filters will be instantly applied to the view.
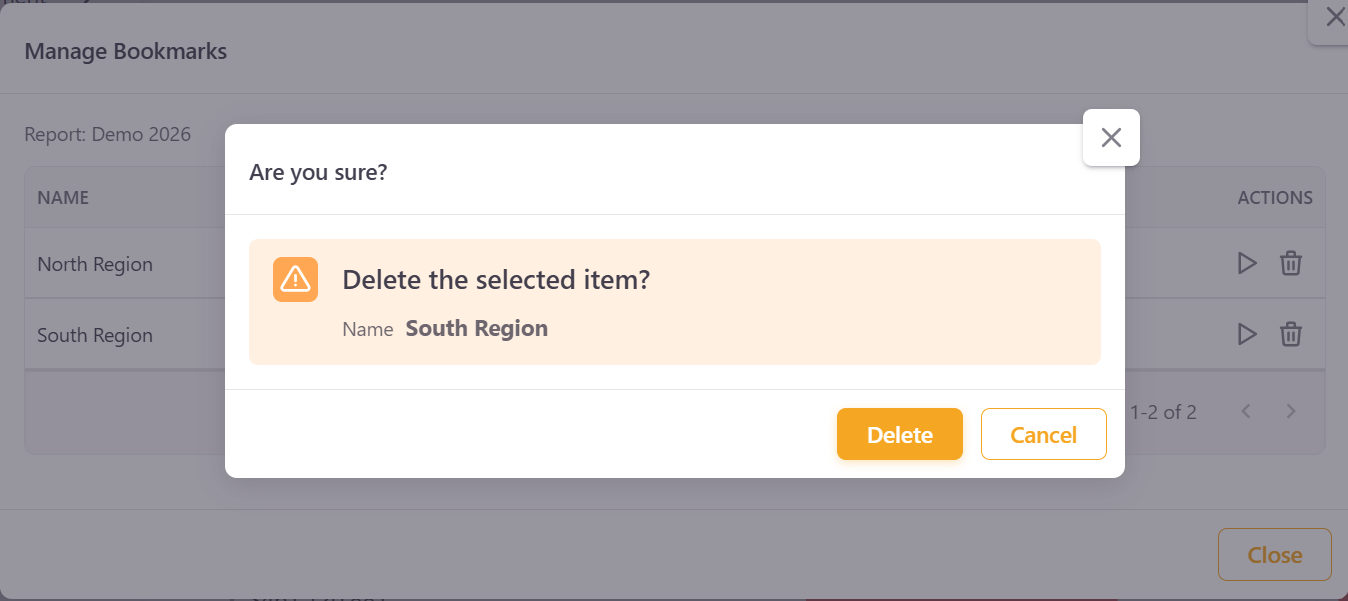
Deleting a Bookmark
- Open the Manage Bookmarks Panel.
- Click the Delete (🗑️) icon next to the bookmark.
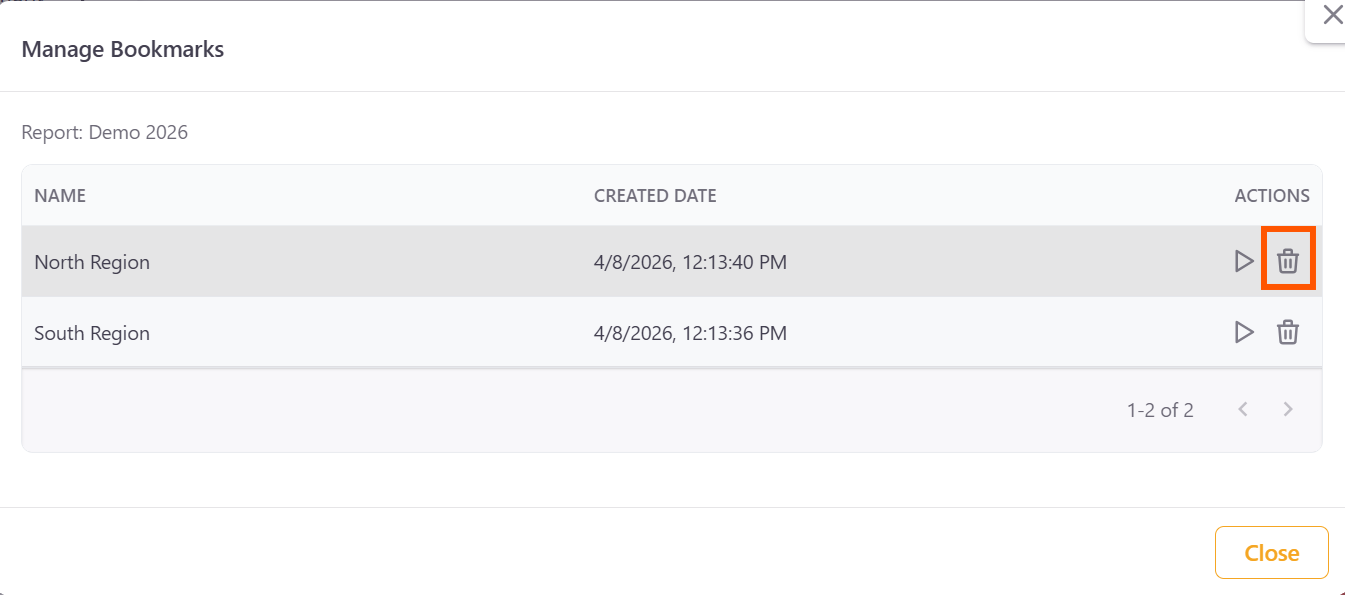
- Confirm deletion.